Users Overview
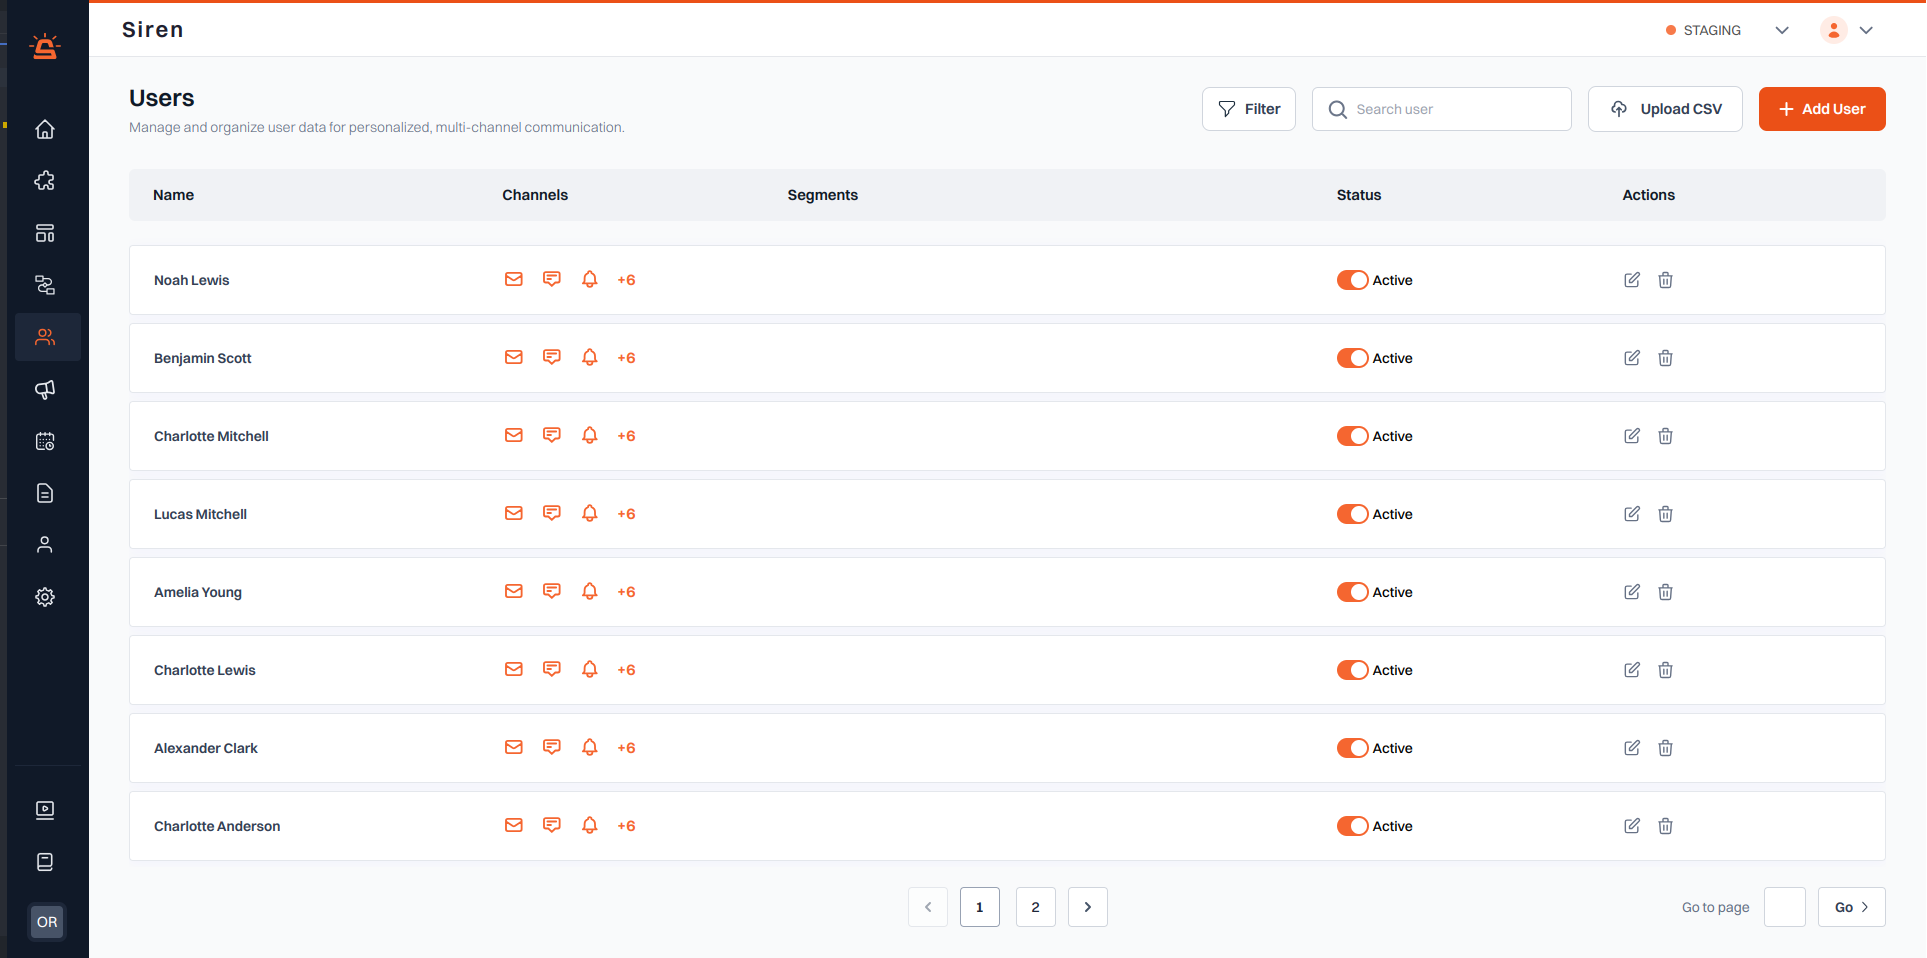
Overview
- Name: The name of the user.
- Channels: Icons represent the active communication channels (e.g., email, SMS, push notifications).
- Segments: The user’s segment for targeted communication.
- Status: Toggle the user’s activation status.
- Actions: Edit or delete the user via the action buttons.
Key Features
- Search & Filter: Search users by name or apply filters.
- Add User: Manually add a new user with customizable fields and channel options.
- Upload CSV: Import multiple users at once using a CSV file.
Managing Users
Adding a User
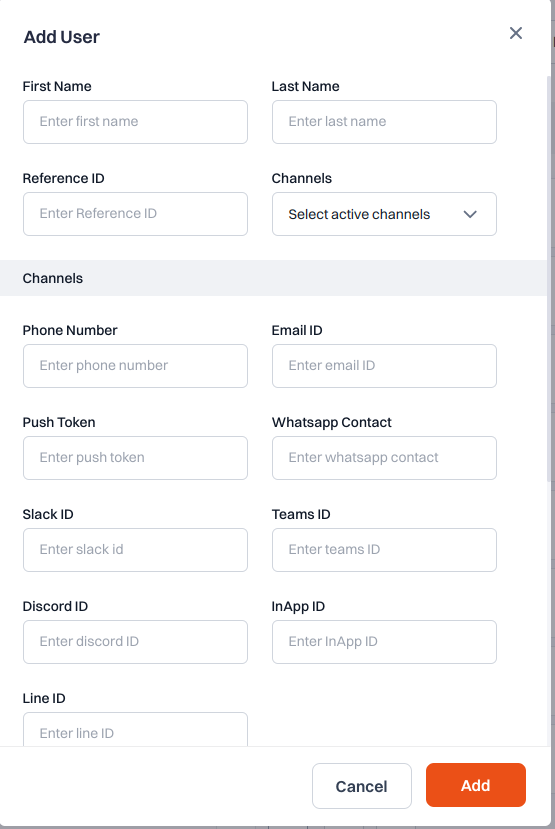
- Click the Add User button to open the user creation form.
- Fill in the user’s basic information:
- First and Last Name
- Reference ID
- Active communication channels
-
For each selected channel, provide the required information:
- Email address for email notifications
- Phone number for SMS
- Push token for mobile notifications
- Other channel-specific details
-
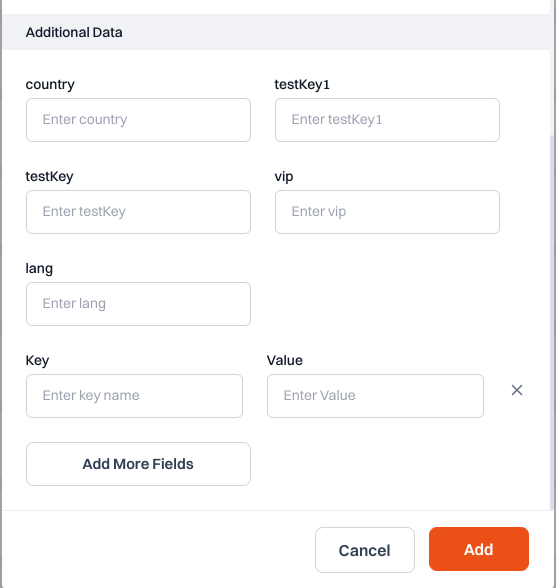
(Optional) Provide additional information:
- Country
- Language preference
- VIP status
- Custom fields
- Click Submit to add the user.
Adding Custom Fields
- Click the Add More Fields button in the user form.
- Enter a custom field name (key) and its value.
- Multiple custom fields can be added as needed.
- Click Submit to save the user with custom fields.
Bulk User Upload via CSV
- Click the Upload CSV button.
- Select a properly formatted CSV file containing user data.
- Map the CSV columns to the appropriate user fields.
- Click Submit to import multiple users at once.
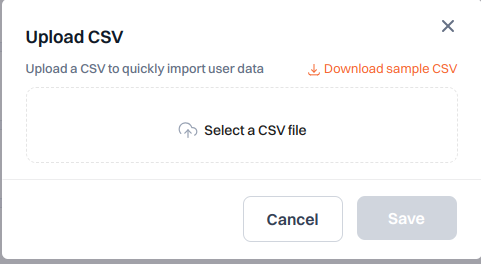
Note: Ensure your CSV file follows the required format. Download our CSV template for reference.
User Settings
Channel Preferences
- View and modify which communication channels are active for each user
- Update contact information for each channel
- Set notification preferences
User Segments
- Assign users to segments for targeted communication
- Create and manage custom segments
- Filter users by segment for bulk actions